Presentations give you space to get creative. The more creative you are, the better your presentations will be. One way to enhance your presentations is by using animations and transitions. Interestingly, you can also add animations in Google Slides. We've covered the basics of animations in a separate article. In this article, we will tell you 11 tips and tricks to make the best use of Google Slides animations.
Contents1. Add transition effect to slide2. Add same transition effect to all slides 3. Add animation to objects4. Add multiple animations5. Rearrange animations6. Check animations added to an object7. Animation preview8. Animate lists or bullets9. Use different animations for list items10. Animate multiple elements11. Remove animations or transitionsBring presentations to life
Animations help to attract and hold the user's attention. This is useful especially when you have a lot of information about text, images, and other objects on your slide. You can hide them using animations. So users will only see the information you are currently talking about. The information that will be presented upstream remains hidden. This does not cause your audience to lose interest in your presentation.
Let's check various tips and tricks for Google Slides animations.
Note: You can only add animations on the web version of Google Slides. You cannot add animations from Android, iPhone or iPad.
For starters, you can apply transition effects to your slides. Transitions will take effect whenever you move from slide to slide during a presentation. Google Slides supports transition effects like dissolve, slide, fade, flip, bounce, etc.
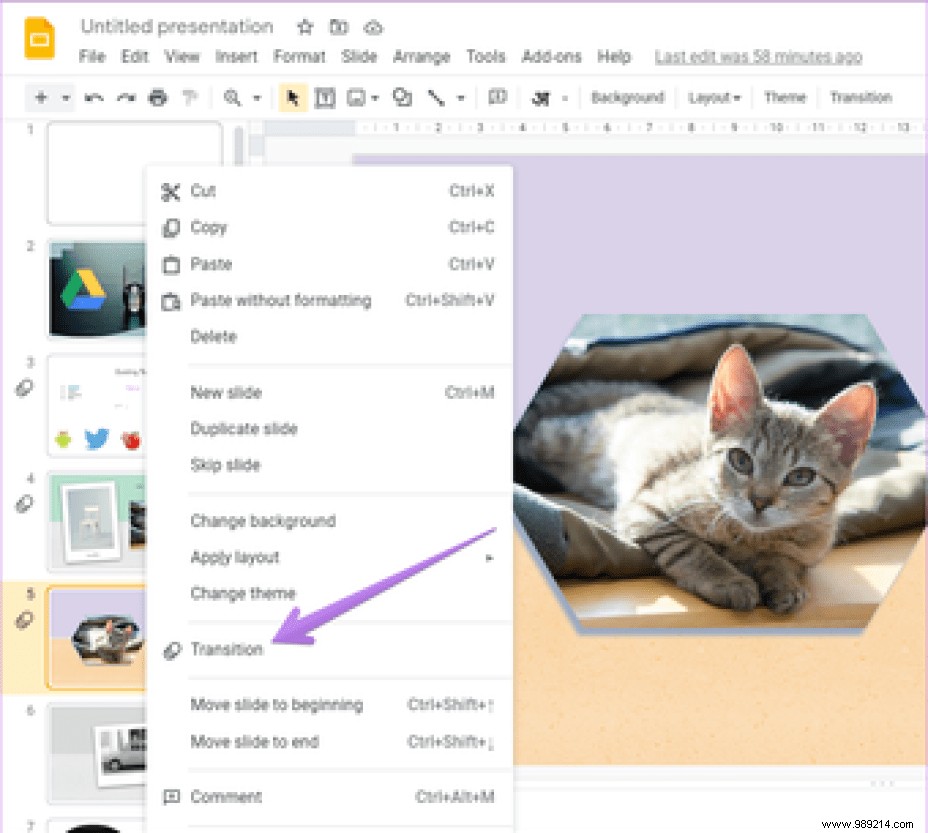
To add a transition effect, right click on the slide in the left sidebar. Select Transition from the list.
You will see the Motion sidebar will appear on the right side. In the Slide Transition section, choose a transition effect for the current slide. You can adjust the transition speed using the slider that appears.
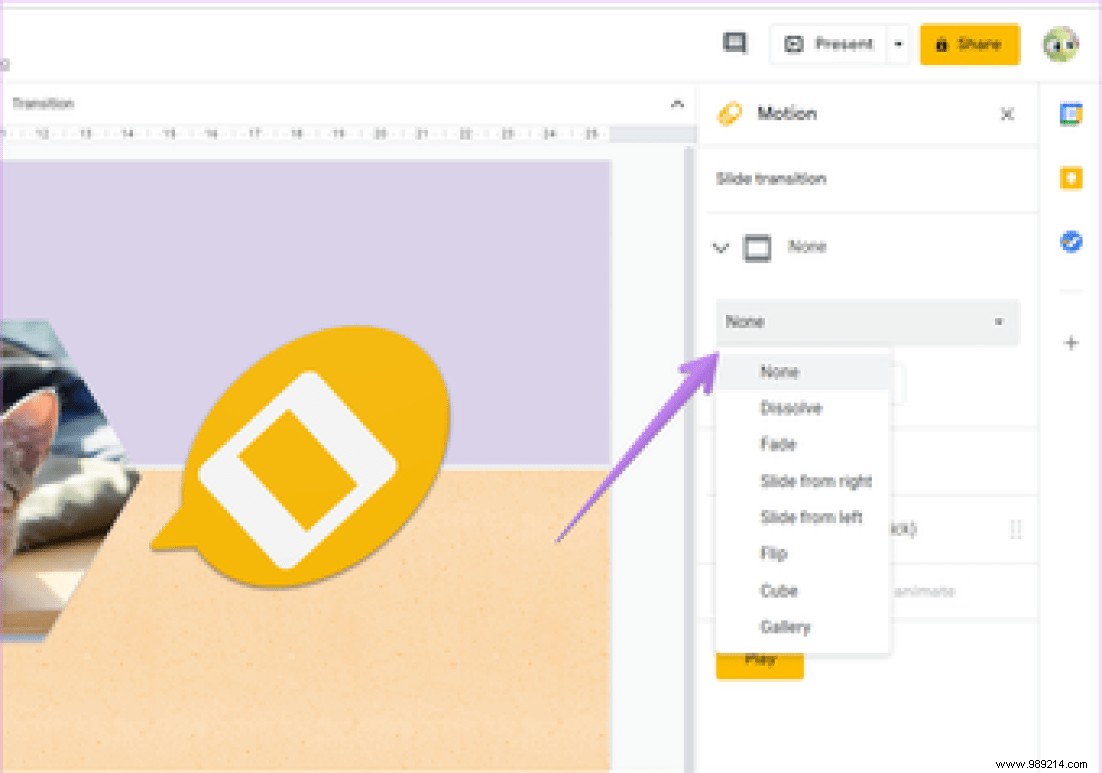
Note: You can only add one transition effect per slide.
Using the trick above, you can add transitions to other slides. You can use different transition effects for each slide. However, if you want your presentation to be consistent, you can apply the same transition to each slide.
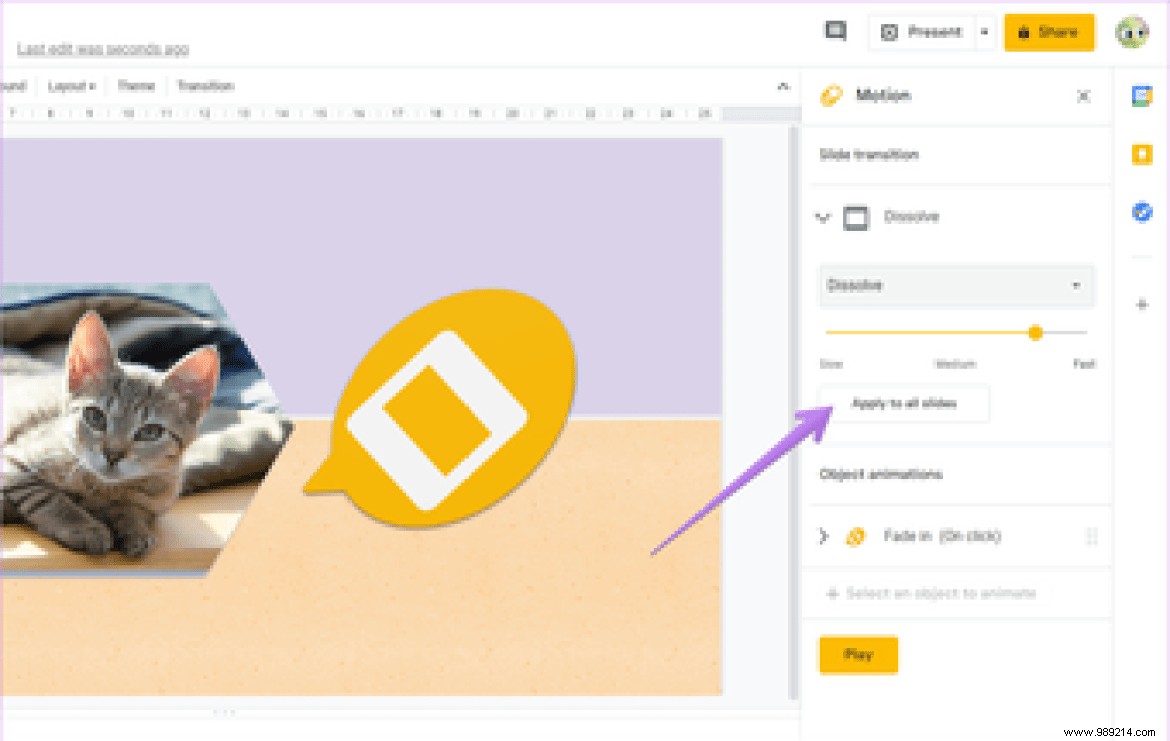
For this, you don't need to add the transition separately for each slide. Simply add a transition effect to any slide. In the right Motion sidebar that appears, you will see the Apply to All Slides button. Click it after selecting a transition effect. Now the selected transition will apply to all slides in the current presentation.
Advice :Learn how to format an image on Google Slides.
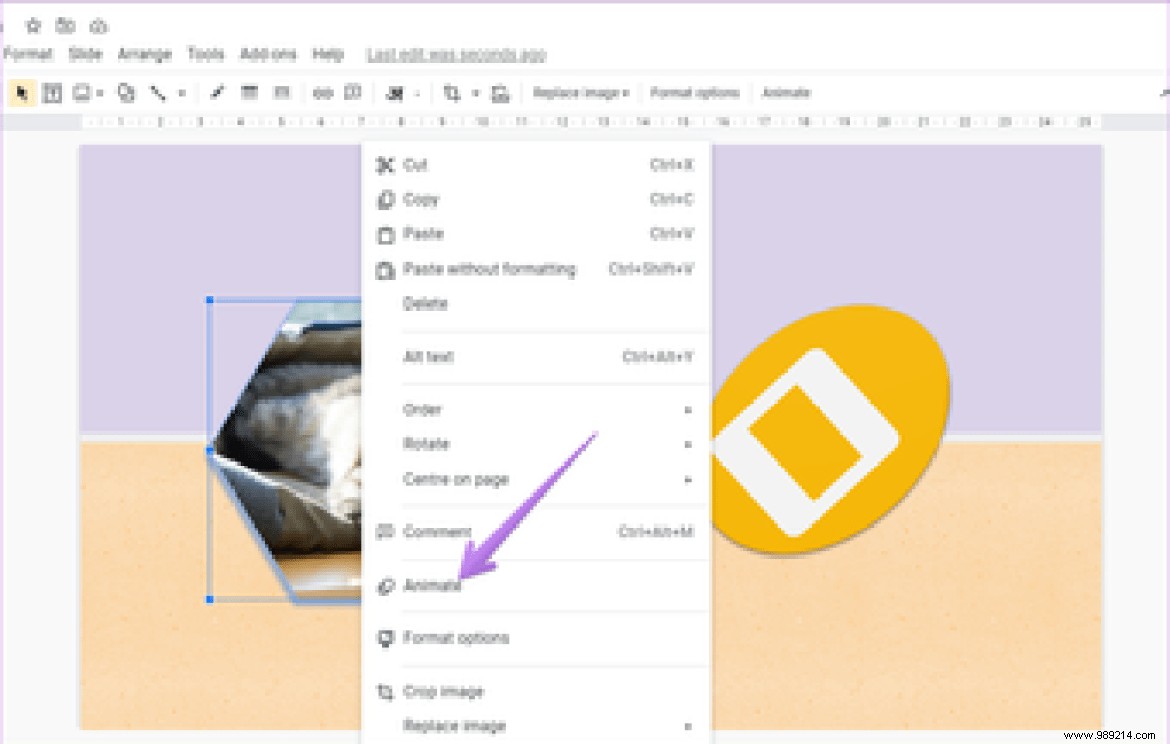
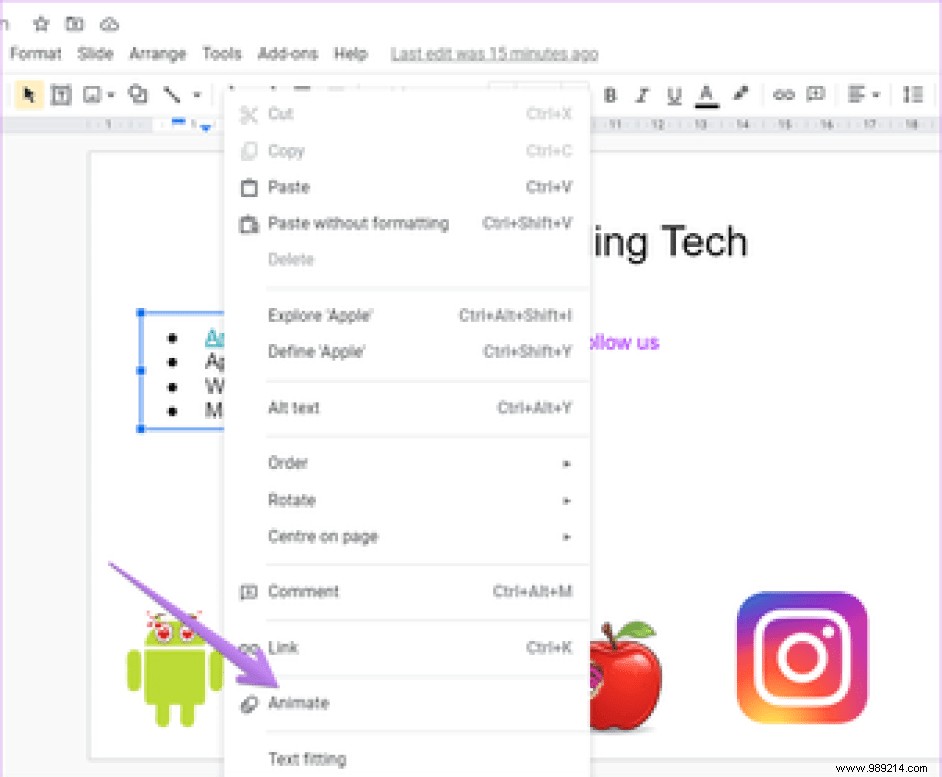
You can animate images, text, shapes, and other objects in Google Slides. To add animation to any object, right click on it and select Animate. Otherwise, select the object, click Insert> Animation.
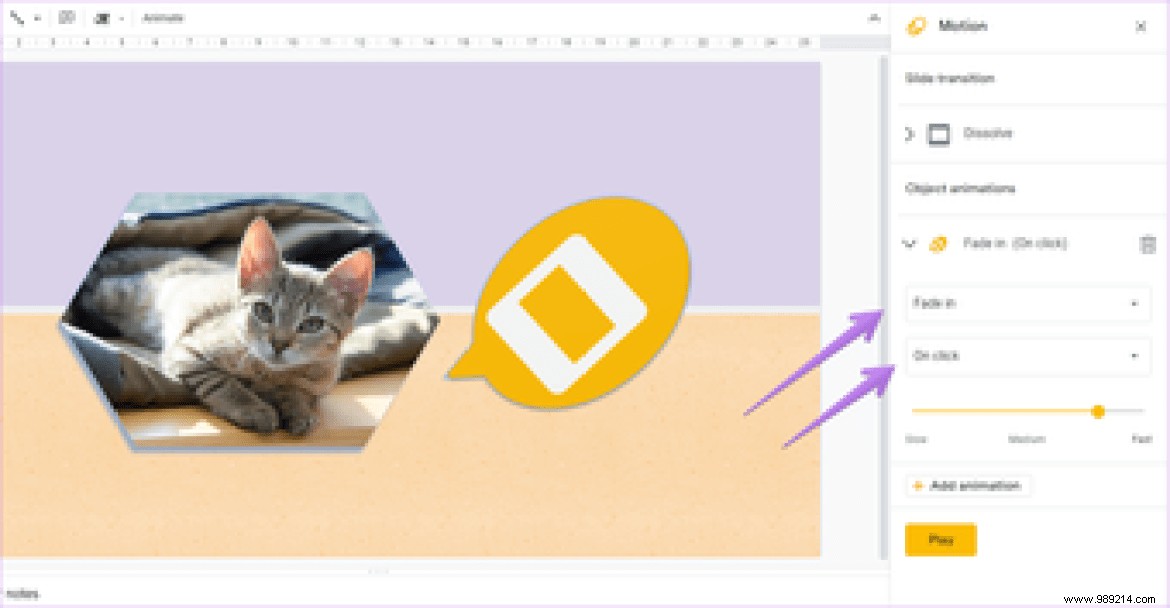
The Motion sidebar will open on the right side. By default, animations are added with the Fade effect. However, you can change it. Expand the Animation section under Object Animations. Choose the animation effect and how the animation should start (on click, after previous, with previous) from the available drop-down lists. You can also adjust the animation speed from the slider.
Tip: Check out 15 tips for editing images in Google Slides.
Interestingly, you can add multiple animations to the same object. For example, you can add an animation once, animate another object, then animate the first object again. This way you don't need to add the same object again. The result depends on your creativity and what you want to achieve.
To add more animations to the same object, select the object. Click Add Animation in the Motion panel that appears when you right-click on the object and select Animation.
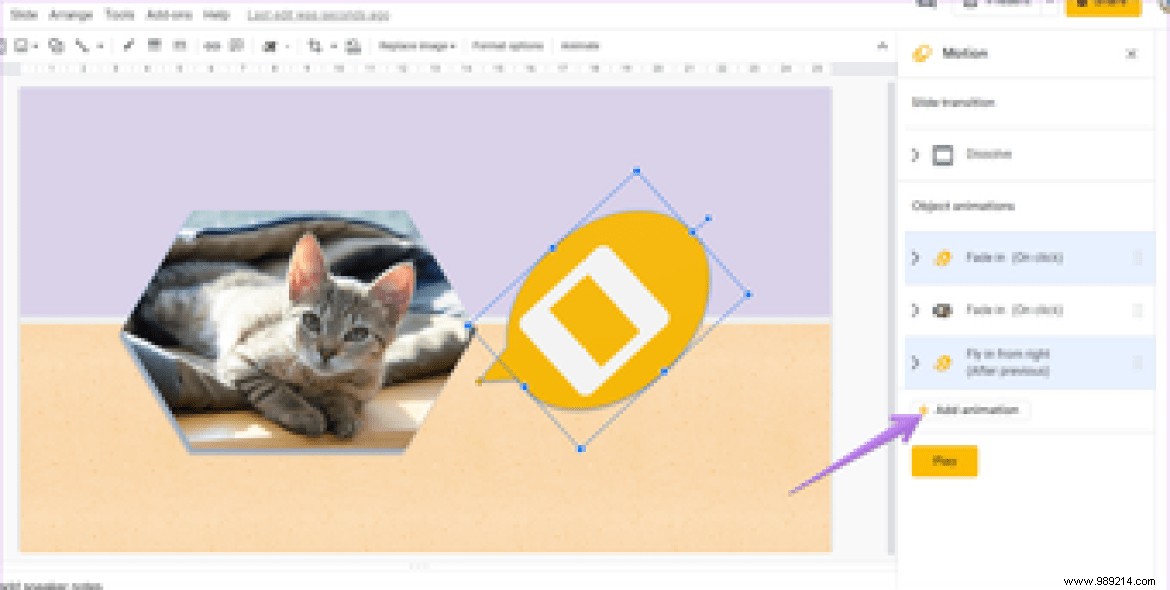
When you have added multiple animations to the slide, you can rearrange them. Animations are arranged in the Motion panel in the order in which they will play. To change their order, drag and drop them using the 8-point icon available next to the animation name.

When multiple animations are added to a slide, it may prevent you from knowing which ones are added to a particular object.
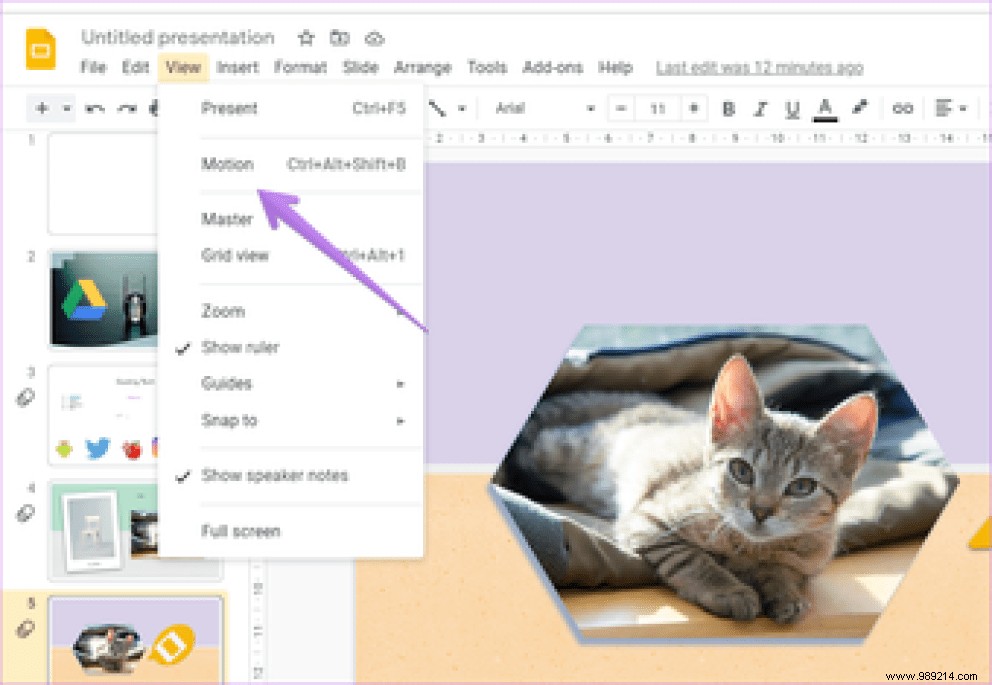
To view and identify the animations of the object, click on the View option present on the top bar and select Motions or Animations. This will open the Motion panel.
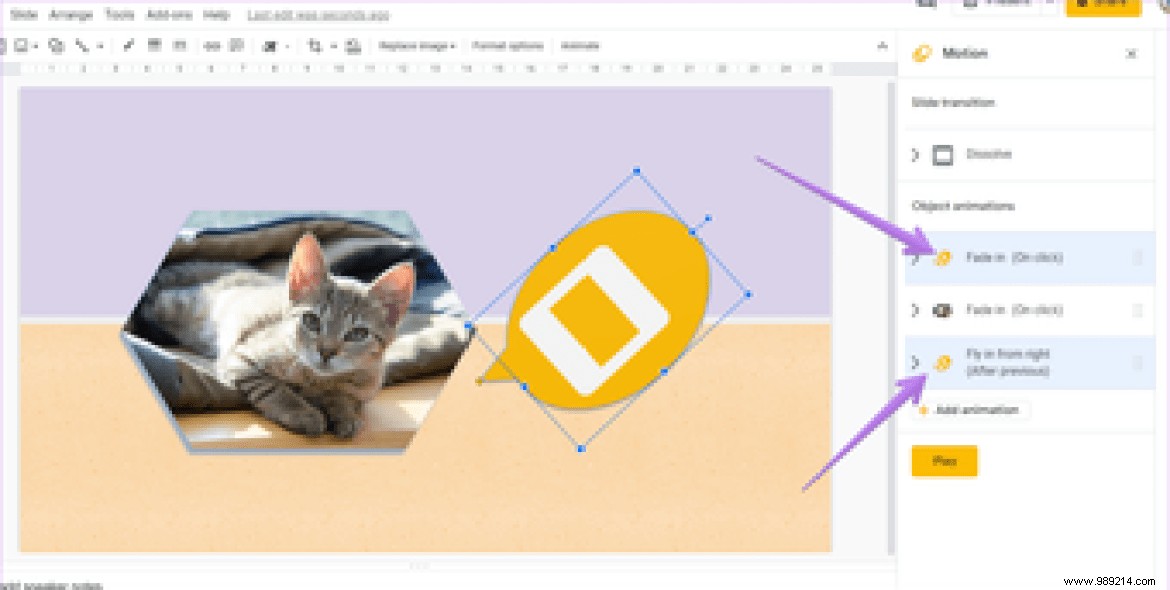
There are now two ways to check animations. First, with the Motion panel open, click on the object. Google will highlight animations of this object.

Alternatively, you will see the object icon before the animations. This will also help identify the animation.
To make sure the animations are correct, you can preview them without playing your entire Google Slide. To do this, click the Play button under the Object Animations section in the Motion panel.

If you want to display the list items one by one, you can use animations for the same. To do this, select the text box containing your list items. Right-click the text box and select Animate.
Check the box next to Per Paragraph under the text box animation. If you want all items in the list to appear at once, clear the Per Paragraph checkbox.
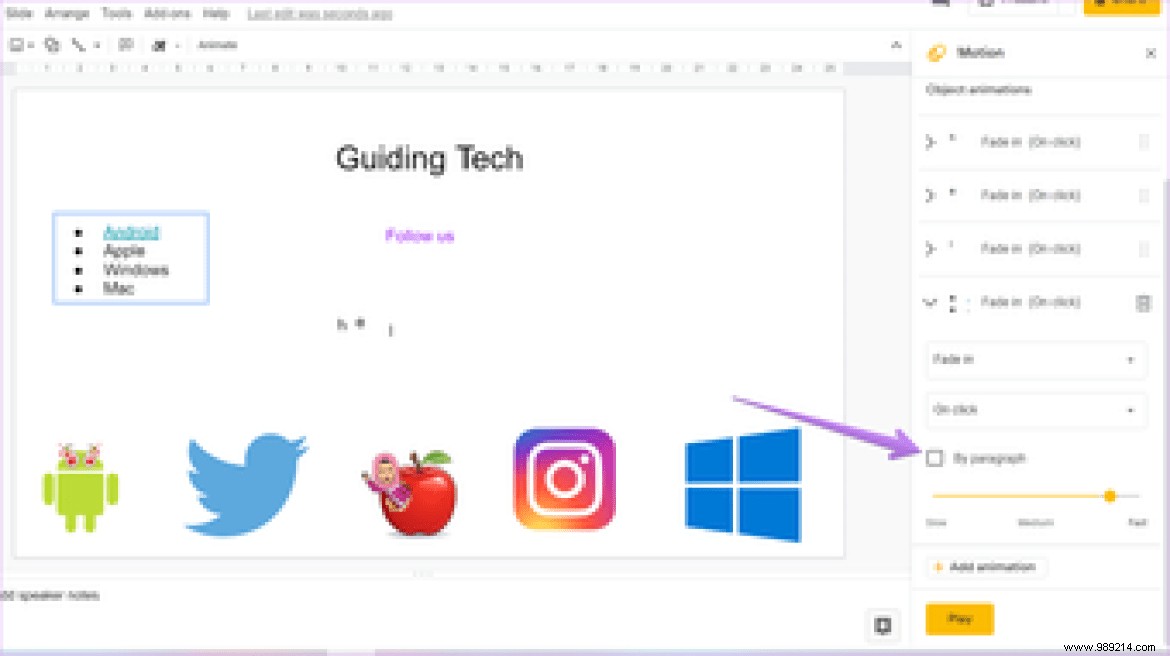
You can use the same feature to animate multiple paragraphs. One paragraph will appear at a time followed by the next.
Tip: Learn how to create hyperlinks, images or objects in Google Slides.
Another creative way to animate lists is to add a different animation effect to your list items. To do this, you will need to add each item in the list as a new text box. Then add an animation to each point individually.
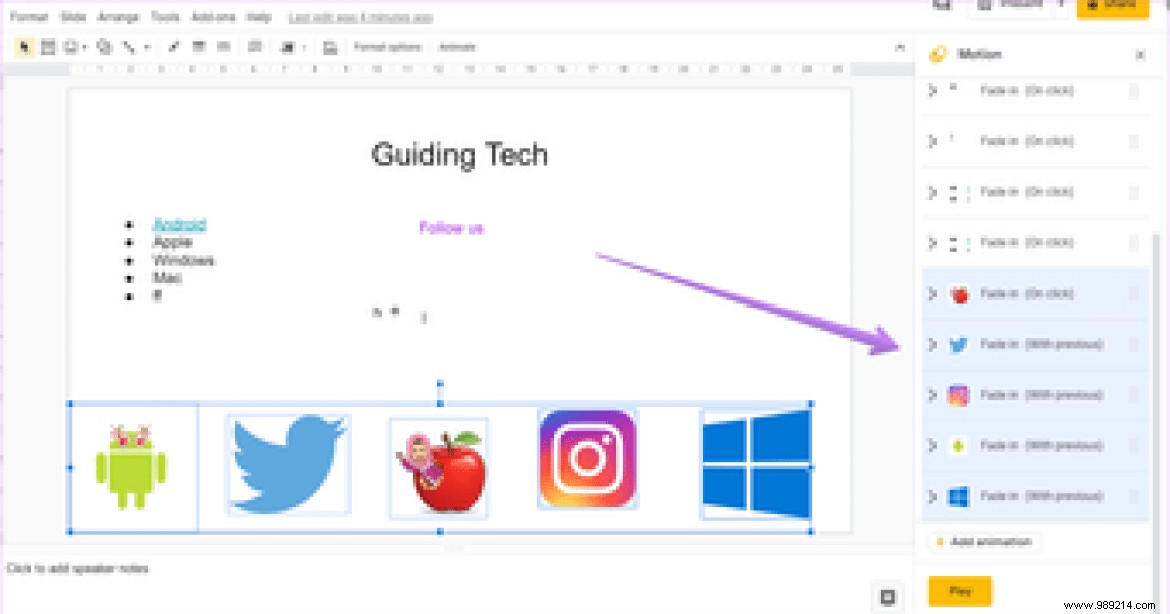
If you want multiple elements to have the same animation, you must group them together. To do this, drag your mouse over the items you want to group. A blue selection box will appear around the selected images. With all the objects selected, right-click one of them and select Animate. You will notice that all selected objects will appear in the right panel.
To remove the transition effect from a slide, open the Motion panel. To do this, click View> Gestures. Then select None in the Slide Transition section.

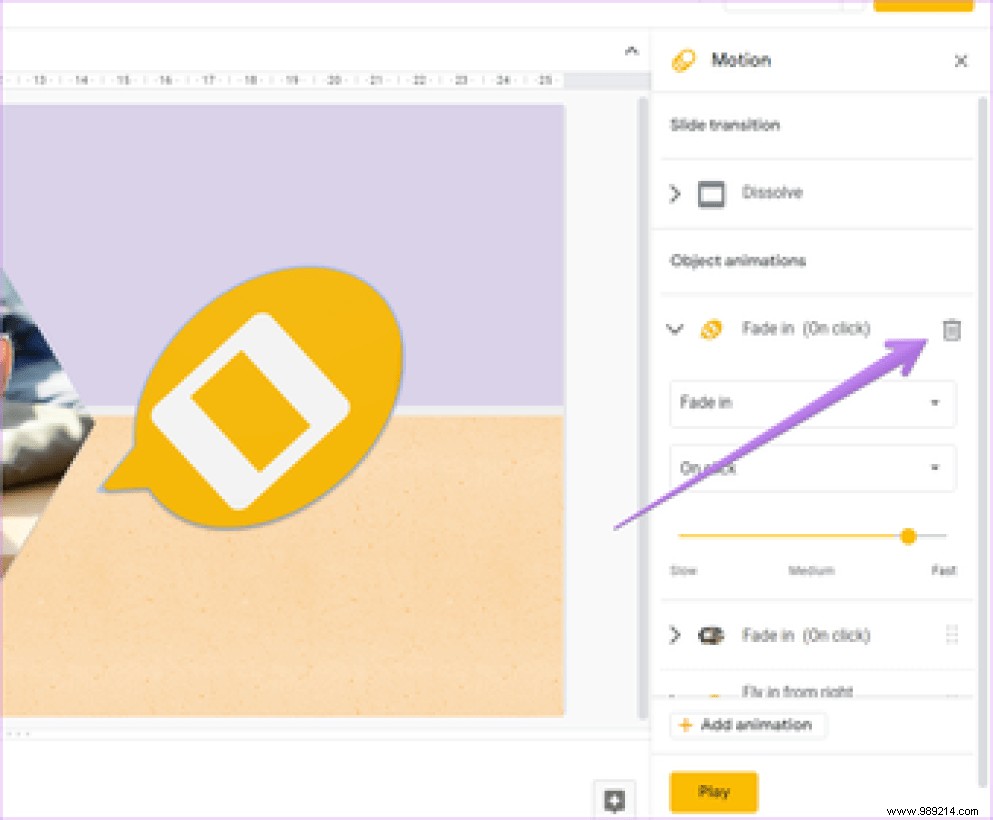
To remove animation from an object, select the object. This object's animations will be highlighted in the Motion panel. Expand the added animation and click the Delete icon.
You can use animations in several ways. For example, you can create animated timelines, create charts where each bar will appear one after the other, animated bulleted lists and much more. However, we suggest not to overdo it with the animations. Sometimes less is more.
Then:
From the following link, learn more tips and tricks related to Google Slides. These would improve the overall Google Slides experience.