One of the strengths of the Nokia 7 plus is its pure Android experience. While most of us adore this sheer beauty of Android, it also means we miss out on some of the fancy features usually found on ROMs like MIUI or ZenUI.
Contents1. Screenshot shortcut2. Unlock system UI tuner for hidden functions 3. Enable Ambient Display4. Enable gestures5. Automatically switch to mobile data6. Change notification priorities7. Adjust the navigation bar8. Get rid of the Google9 app screen. Use the fingerprint sensor for navigation10. Unlock your phone with your voice Get the most out of your phone
However, that doesn't mean Stock Android is without its share of features. Most of the time, features remain hidden deep within the Settings menu.
In this article today, we are going to talk about ten such settings of the Nokia 7 plus. Since this is going to be a long post, let's get to it right now!
The majority of phones I've used so far don't have a dedicated screenshot shortcut. Whether it's the high-end Galaxy Note 8 or the budget Mi MiX, you'll have to go through the same exercise of pressing the power key and the volume down key to take a screenshot.
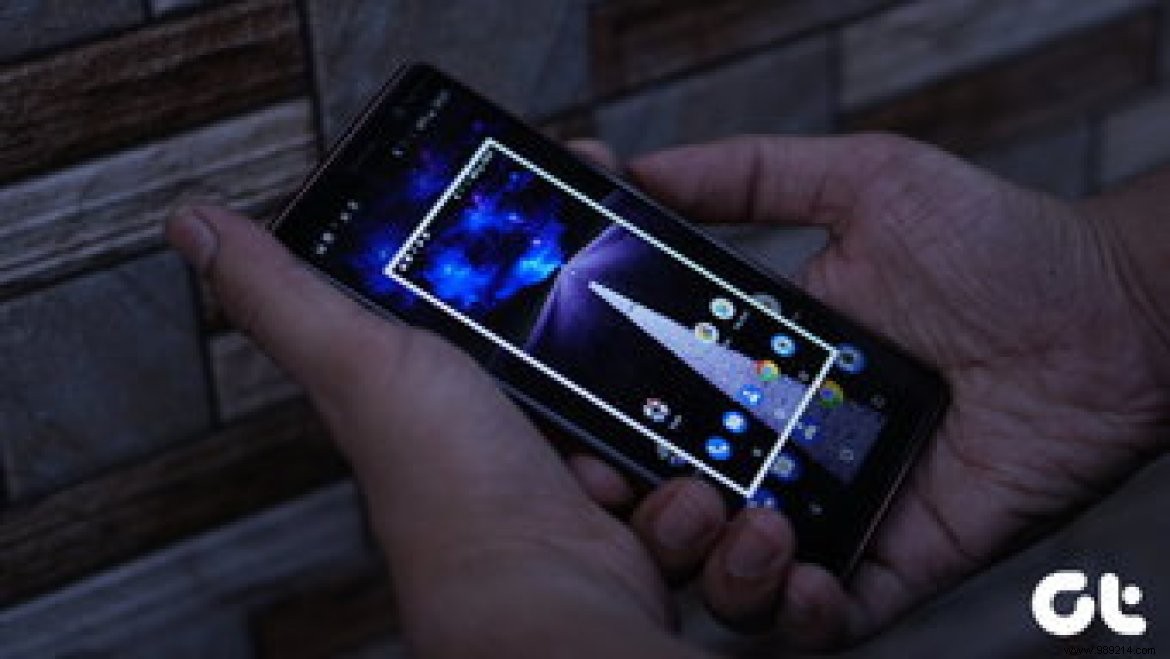
Well, with the Nokia 7 plus, you can let that habit rest. It has a nifty shortcut in the Quick Settings menu that lets you capture a screenshot just by lifting a finger.
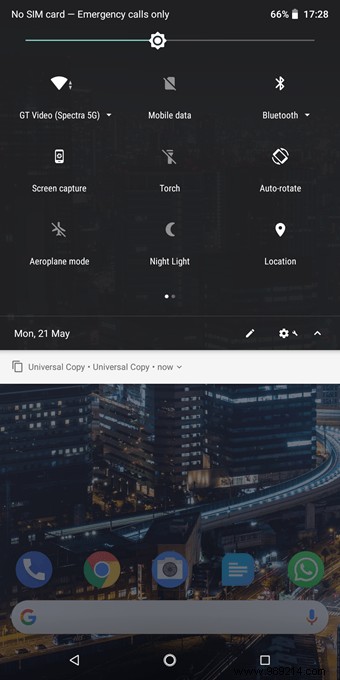
However, the screenshot option is not in the Quick Settings menu by default. You would have to add it first. To do this, pull down the Quick Settings menu and tap the Edit icon.
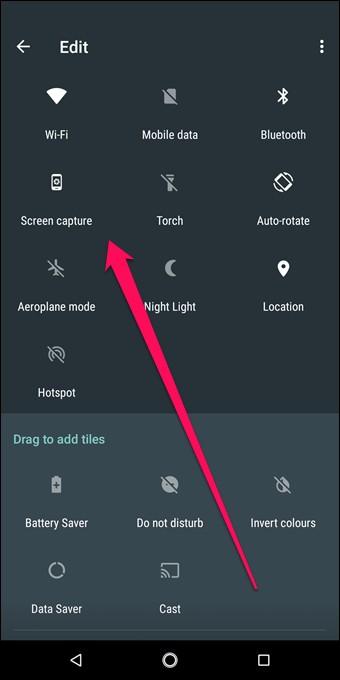
Once done, drag and drop the screenshot icon into the active area. That's it! You can even drag the screenshot icon up so that it's on the first page of the menu.
So the next time you need to take a screenshot, you'll know what to do.
The best thing about Stock Android interfaces is that they allow you to freely explore the world of Android. System UI settings are a (kind of) hidden feature. This one lets you unlock a few extra customization tricks on your Android that are missing from the standard settings menu.
However, before you start exploring it, let's see how to unlock system UI settings. Swipe out the Quick Settings menu and long press the Cog Settings icon until you see the message System UI Tuner has been enabled.


Once done, navigate to Settings> System> System UI Tuner and tap on the Status Bar option.
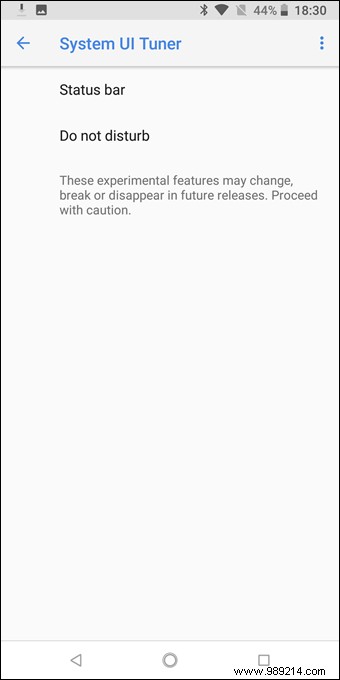
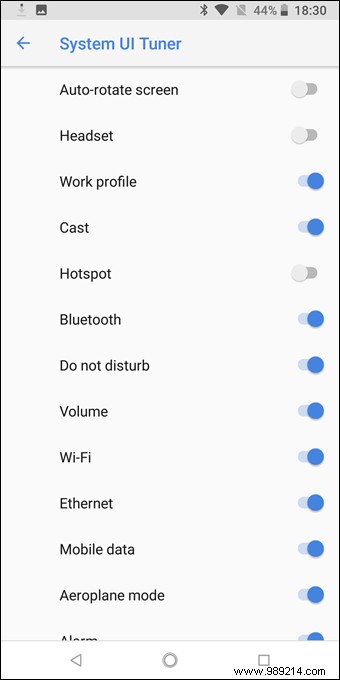
This will show you the icons that have been enabled by default. So if you want to keep the status bar clean, all you have to do is turn off the switches.
An interesting feature of the Nokia 7 plus is its ambient display. Cousin of the Always On Display function, this one allows you to display the time and notifications on the lock screen.
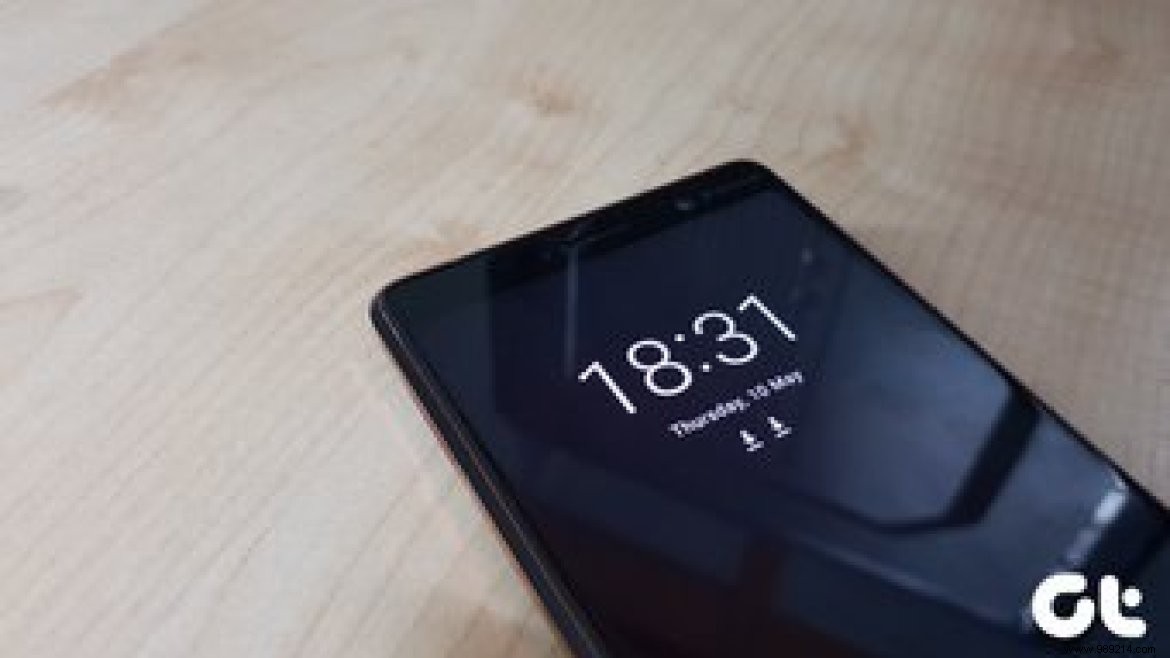
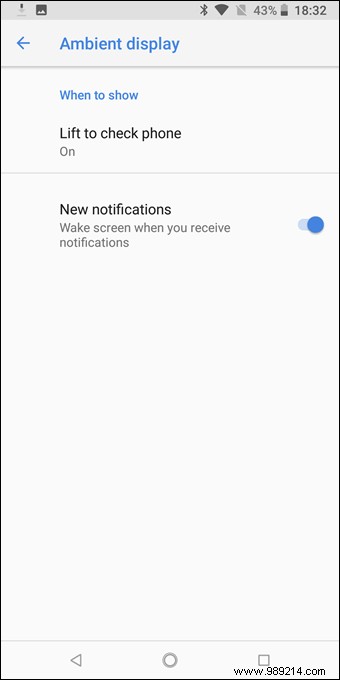
To enable Ambient Display, go to Display> Advanced and tap Ambient Display. Here, enable the "Pick up to check phone" option and the new notifications options to get the most out of this feature.
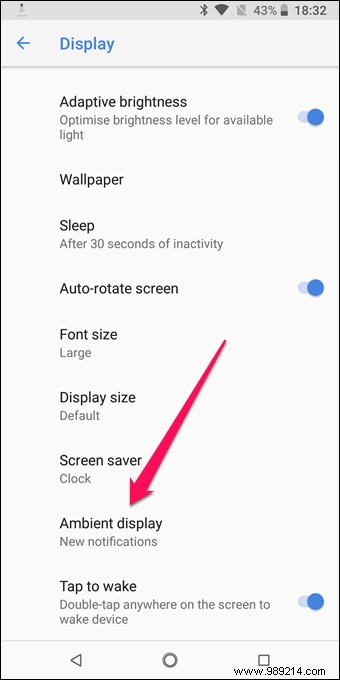
 Cool tip :Hate hitting the power button every time? Enable the double tap to wake gesture located in the display settings to see which alerts you missed.
 Gestures are an important part of any phone and luckily the Nokia 7 plus supports a handful of important gestures. Although they're not as elaborate as the ones you'll find in the iPhone-X, they do manage to get the job done.
The best of the lot is the fingerprint swipe gesture for notifications. This lowers the notification drawer when you swipe down on the fingerprint sensor. nice, right?
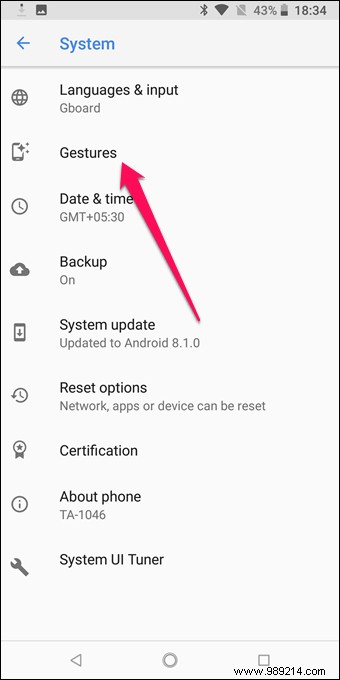
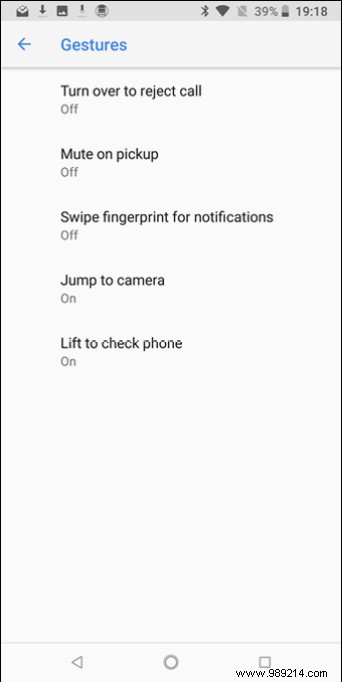
To enable it, head to System> gestures and toggle the switch for the third option.
Obviously, Wi-Fi with no internet access equals no Wi-Fi. However, for some phones, it takes a bit of time to figure out this simple logic. So unless you notice the little exclamation mark on the Wi-Fi icon, you may have already wasted precious time getting the page to load.
Fortunately, the Nokia 7 plus has an option that automatically switches to cellular data when the connected Wi-Fi has no internet access.
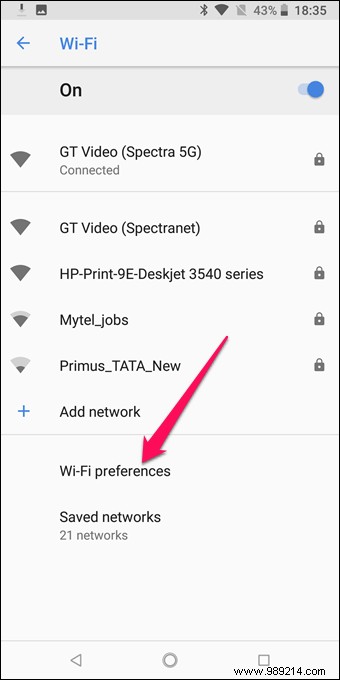

To enable this cool feature, go to Settings> Network &Internet> Wi-Fi and tap on Wi-Fi Preferences. Once done, all you have to do is tap on Advanced and tap on the Skip option automatically to mobile data.
Phone notifications are one of the most targeted areas these days. Not only can you customize notifications individually, but you can also set a few apps to override DND mode. This is especially important when you have your work apps on your phone.
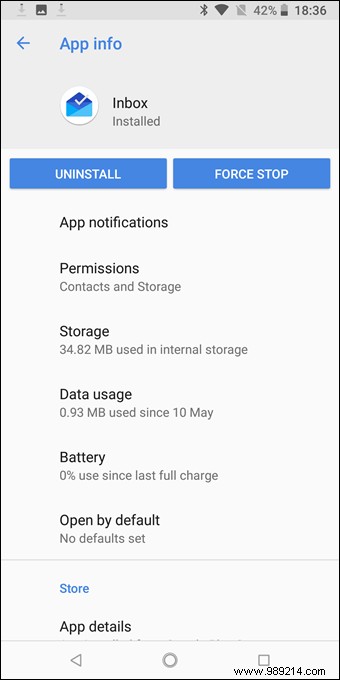
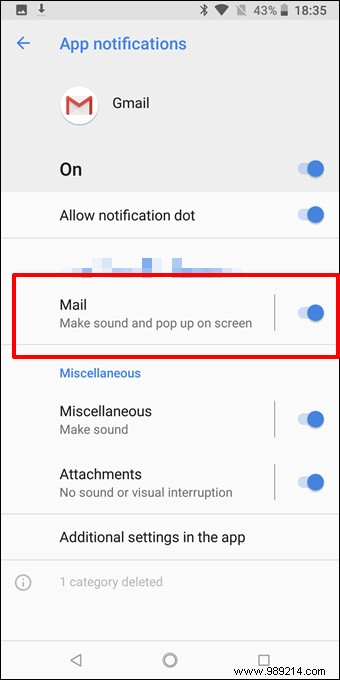
All you have to do is go to Settings> Apps ¬ifications and open the respective app and tap on App notifications. Once inside, activate the Override Do Not Disturb switch. To change the priority of the app (if it's a messaging app), tap Play Sound and switch to Urgent.
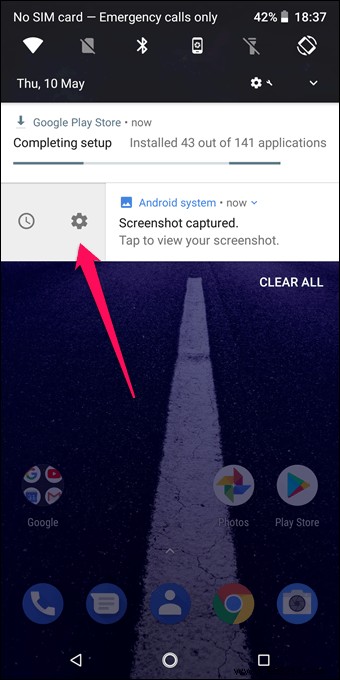
Similarly, the reverse can be done on apps whose notifications are not important. A nifty shortcut to access the notification settings is to slightly swipe the notification left/right until you see the settings cog. Tap the icon and make changes accordingly.
If you ask me, the navigation bar on the Nokia 7 plus is too simple for my taste. Unlike some of the custom ROMs, you can't color it, nor can you hide it for an immersive experience. This is where a few third-party apps come into play.
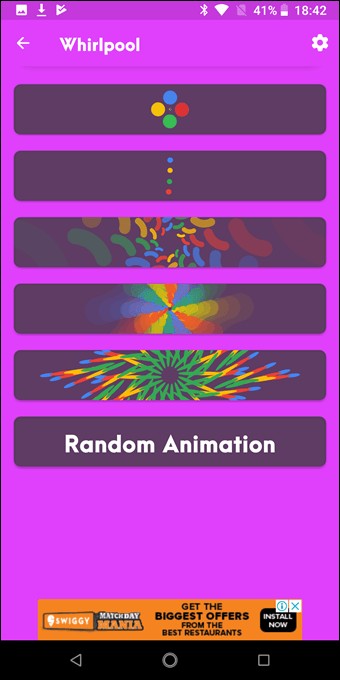
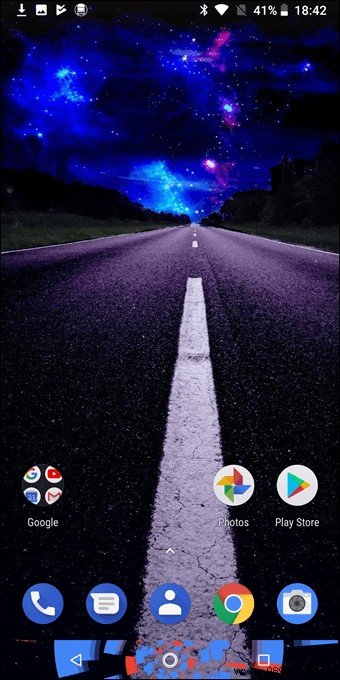
If you want the navigation bar of your Nokia 7 plus to animate, the best application is Navbar Animations. It has a number of free and paid animations that will light up the bottom of the screen. All you have to do is activate the app and choose the animation. Psst...the app even has a cool option for the Avengers, however, it's paid for.
Thanks to Stock Android, the Nokia 7 plus has a Google App screen to the left of your home screen. It displays all recent news according to your preferences and location. While this is convenient, I find it to be a big waste of space. Fortunately, it can be quickly disabled.
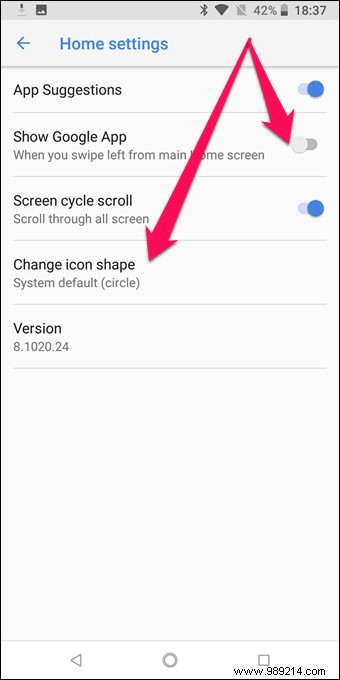
If you have the same idea, long press on the home screen and tap the Home Settings icon. Once done, turn off the Show Google app switch. That's it.
Cool tip :The Change Icon Shape option allows you to skip boring round icon shapes. My favorite? Squircle that's it!No, I am not repeating point 4! This one is a much cooler alternative to the default gestures we showed you above. Named the Fingerprint Navigation Key (a pretty long bite), this option lets you use the fingerprint sensor as a navigation bar.
All you have to do is type the term "Navigation" in the search bar of the settings. Tap on the first option that appears and enable it.

From now on, a single tap on the sensor will double for the back button. For the Home button, long press the sensor, while a right/left swipe on the sensor will open the recent app. Cool, right?
Also, if you have the Navigation Bar app installed, you can actually see the button action recorded on the bar.
Last but not least, enable the ever-helpful Google Assistant on your new phone. Having an intuitive assistant definitely improves your smartphone experience.
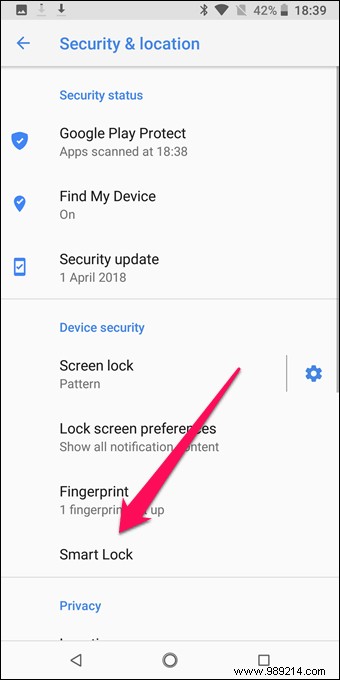

To activate Google Assistant, long press the home button and the assistant will guide you through the setup process. With that done, go to Settings> Security> Smart Lock, tap on the Voice Match option and set up the assistant to recognize your voice. Ta-Da, you're done!
This is how you can improve your Android experience with a few simple tricks. The thing with phones is that the more you explore, the better the experience. Plus, not to mention the myriad of Android apps that help make the experience fruitful.