PhotoScape X is a hidden gem. I've been using it for years and never bothered to replace it with another photo editing software. You may ask why. Well, because it has everything one could ask for in image editing software. With 1000+ filters and effects, 100+ tools, 200+ shapes, stickers and figurines, the PhotoScape X editor is stunning. And best of all, most functions are free.
Contents1. Detach tools 2. Save cropped area 3. Change circular crop background4. Add transparent background5. Duplicate items6. Working with layers7. Quick menu8. View original and compare9. Save project10. Use the color picker anywhere11. Batch file renaming12. Change editor theme13. Use as photo viewer Beautify your photos
Every time you use it, you discover something new. So, to save time, we have compiled the top 13 PhotoScape X tips and tricks. . Here, we'll cover features that require a bit of exploration to discover and experimentation to understand how they work.
Note :PhotoScape has two versions — PhotoScape 3.7 and PhotoScape X. The former is for Windows XP, 7, Vista or 8 users, while the latter is available for PCs with Windows 10 and Macs running macOS 10.10 and later.Let's start.
On the editor screen, all tools and effects open on the right side. However, some of them do not occupy a fixed position. They can be moved and kept at your preferred location. In other words, you can undock the tools.
To do this, click the Detach icon in the upper right corner. Likewise, if you want to dock them, click the same button in the undocked position.
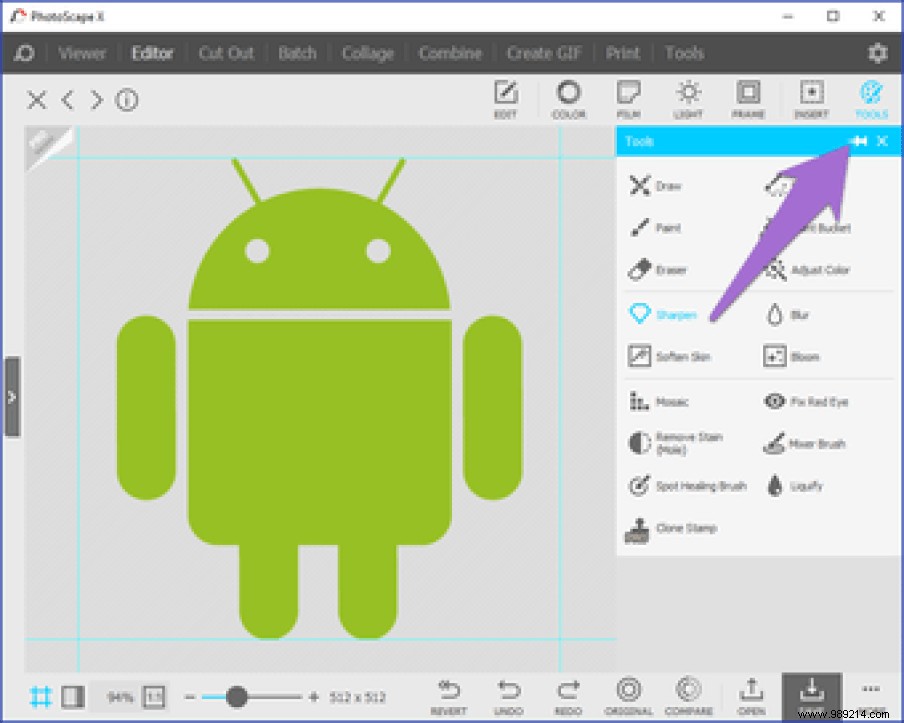
If you check the screenshot carefully, each tool icon has a name under it. This makes it easier to use than other image editing suites that expect you to remember shortcuts, and you have to hover over icons to discover tools. This is one of the reasons why I prefer PhotoScape X.
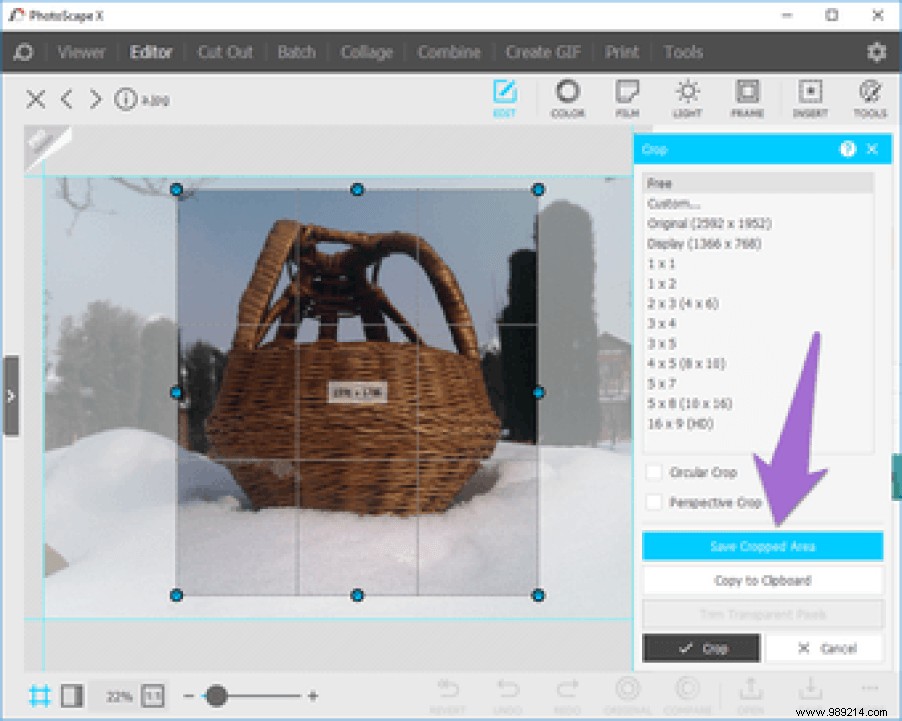
PhotoScape X offers basic cropping utilities such as different crop sizes and circular/perspective cropping. Above that, it allows you to directly record the cropped area and thus save your time. Besides, you can also copy the cropped part directly to the clipboard.
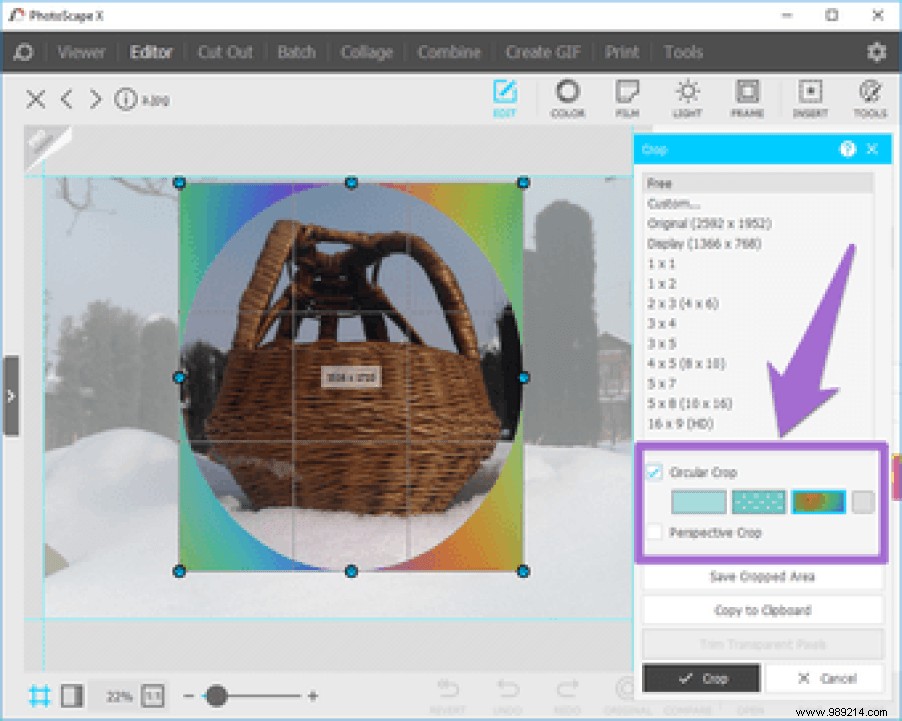
In Circular Crop, PhotoScape X lets you choose the four corner background from solid colors, gradients, and themes.
To do this, first check the Circular crop box under Crop function. Then choose the background of your choice from the options offered.
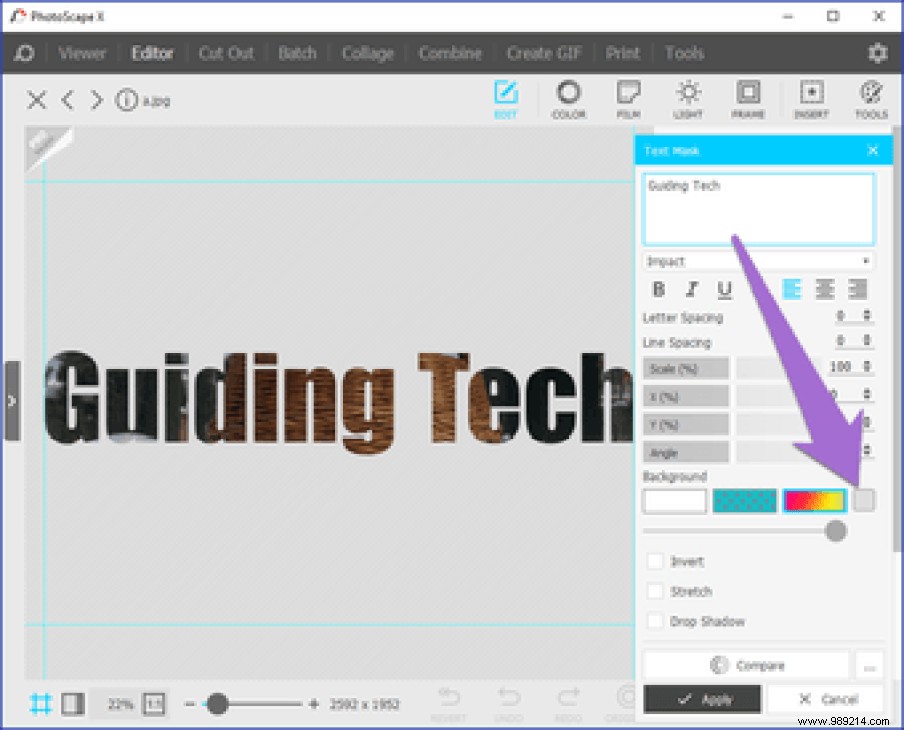
Wherever PhotoScape X lets you choose a background for any effect or tool, instead of using a color or theme, you can set it as transparent.
To do this, select the fourth option under the Background label — Transparency. In the screenshot below, I've set a transparent background for a text layer mask.
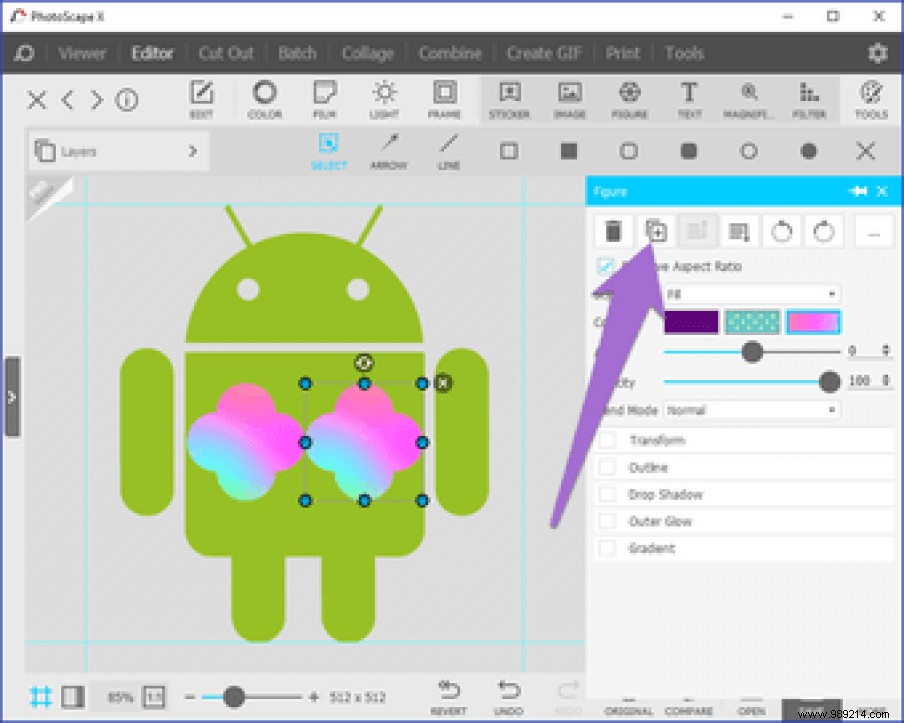
PhotoScape X lets you add stickers, images, shapes, and text to your photos. Sometimes you want to add the same object twice or even more. For this, you do not click the menu several times to add them. You can use the duplicate function.
Once you have added an object, click on the Duplicate icon in the same window. You can use it as many times as you want.
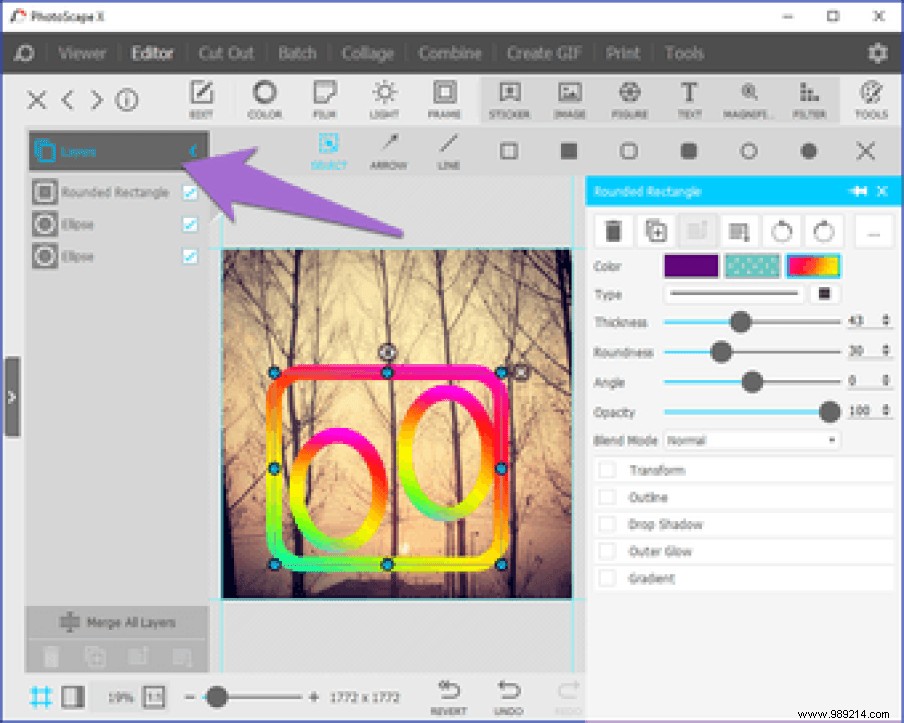
When you add more than one object on your image, you will get the Layer option on the left side. It is not visible otherwise. You can then further edit each layer individually by unchecking the box next to it. Later, selecting all the checkboxes will combine these layers to show you the final image.
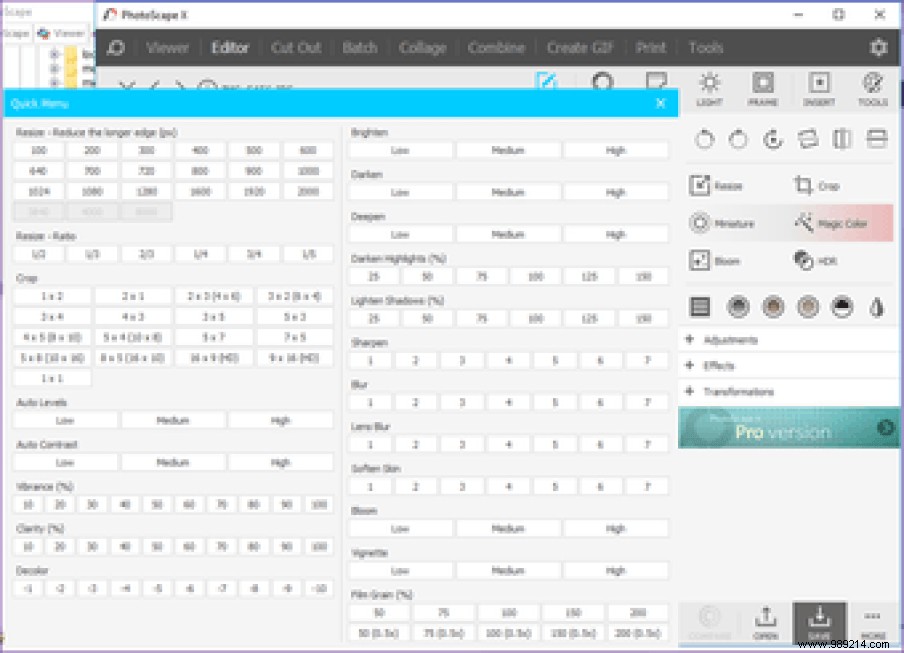
Under the Edit tab, you will find many editing options neatly placed under different sections. Since PhotoScape X contains a ton of features, it becomes difficult to access some of them directly from the home window. Fortunately, the quick menu comes to the rescue where you have access to many features directly in a single window.
To use it, navigate to the Edit tab, then tap the Quick Menu icon.

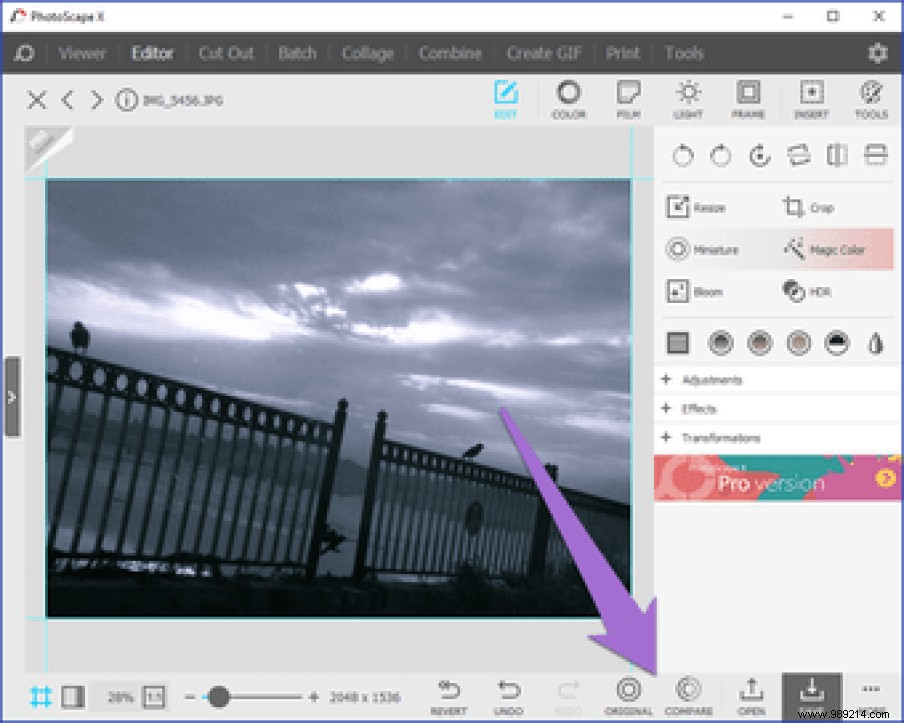
While editing, PhotoScape X allows you to view the original file at any time. Just click on the original icon at the bottom.
Similarly, if you add multiple filters and effects and want to compare the edited image with the previous preview, click the Compare icon or press the spacebar.
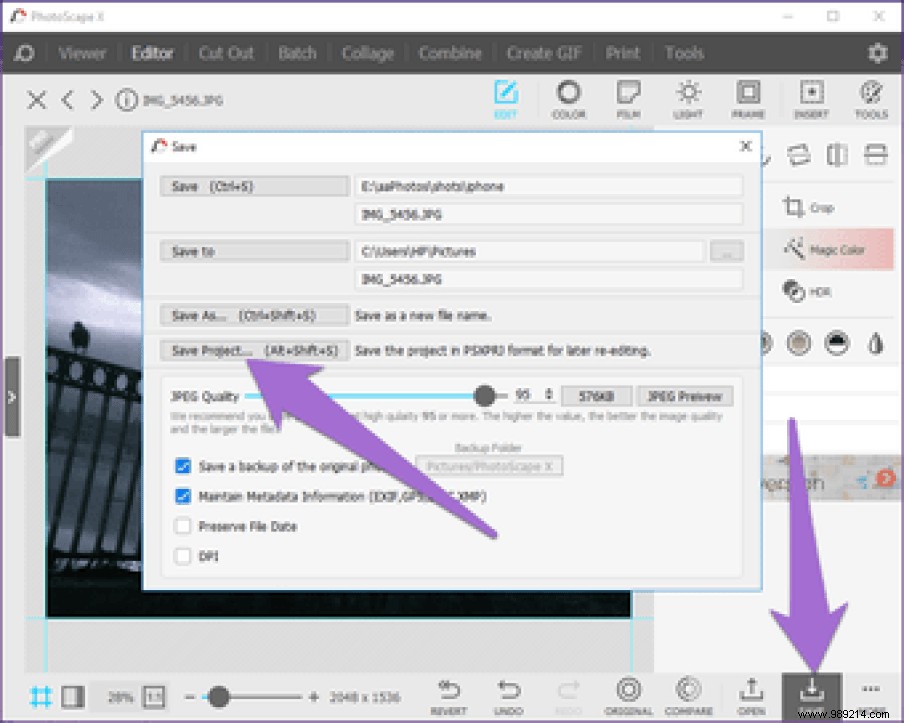
Similar to top photo editors, you can save your images as projects. Later, when you need to make changes to it, open the project file and continue editing.
To save an image as a project, click the Save button. Then click Save Project. Of course, you can also use the keyboard shortcut Alt+Shift+S.
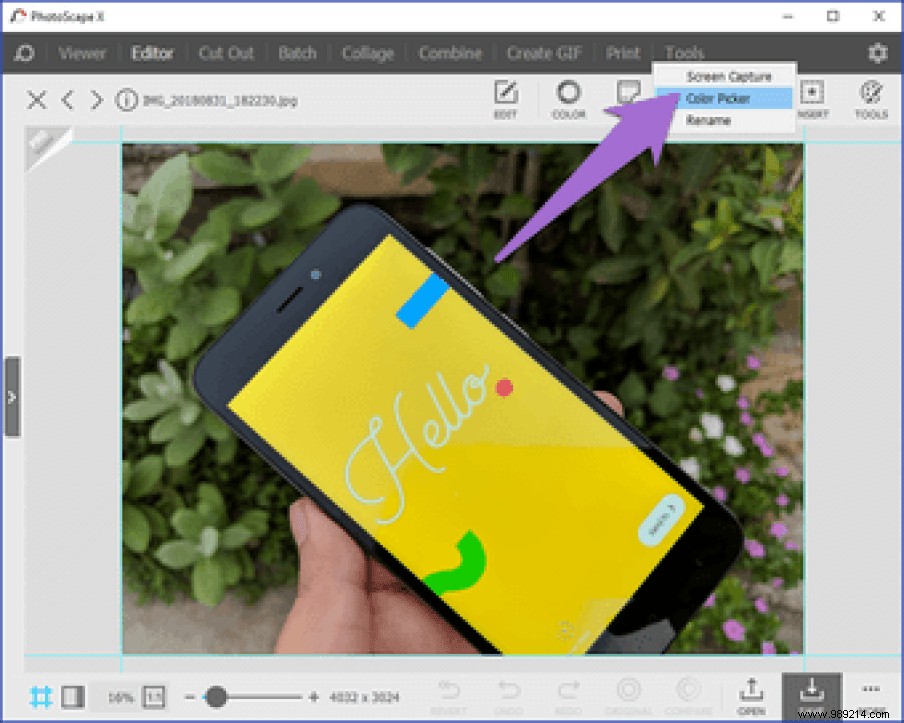
PhotoScape X offers a color selection tool. Now you must be wondering if all photo editors do this. What makes PhotoScape's Color Picker different is that you can use it outside of the software as well. You can use it to identify color on websites, file browser, any image viewer, etc.
Click Tools on the top bar of PhotoScape X. From the menu, select Color Picker.
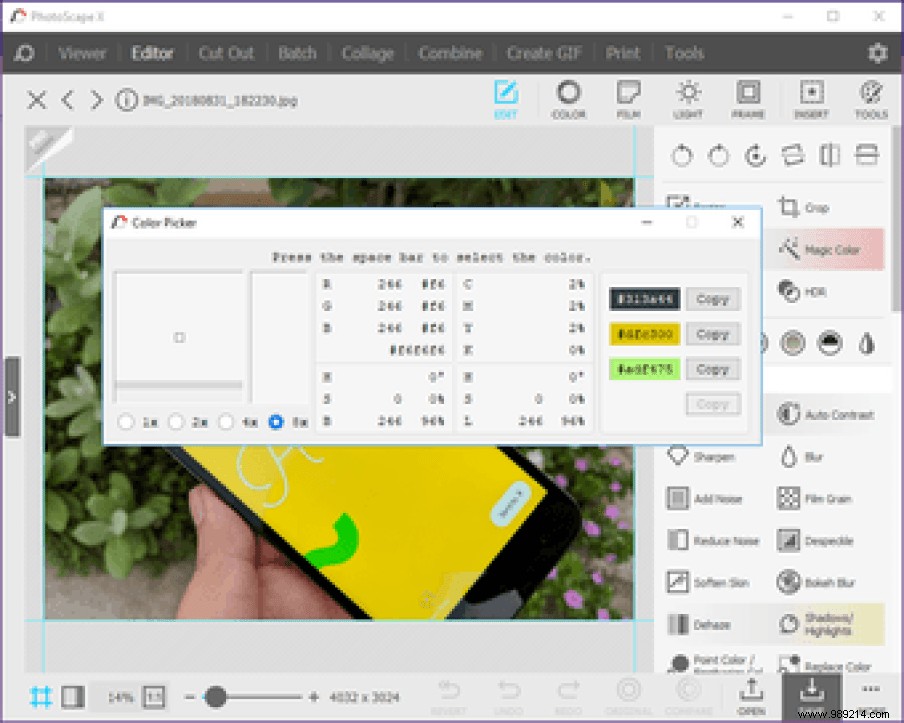
You get cool features such as you can change the magnifying glass zoom strength and select multiple colors using the spacebar.
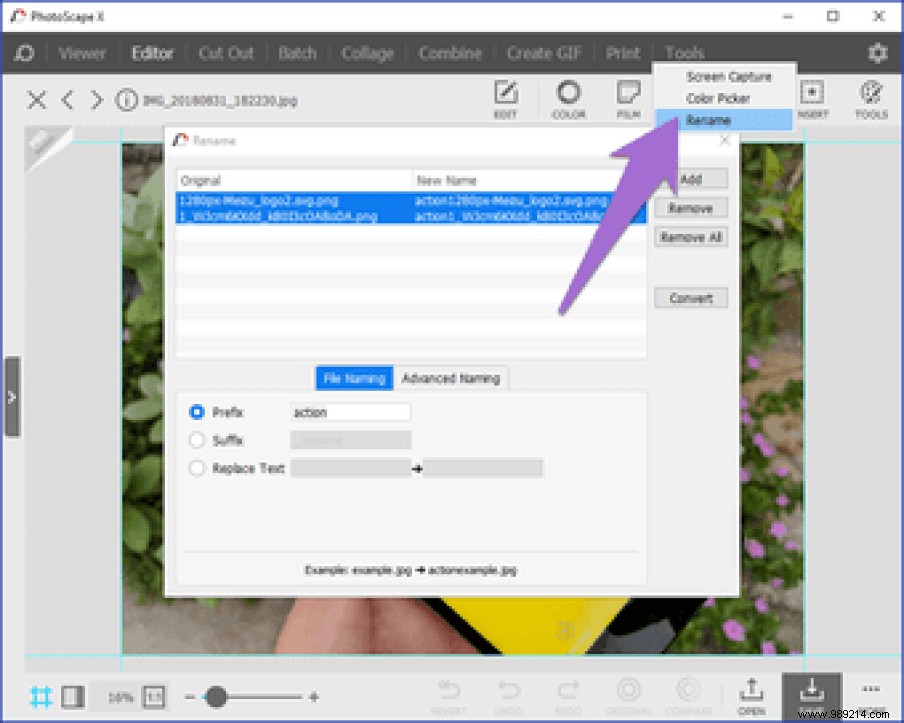
Another cool feature offered by PhotoScape X is batch file renaming. Simply add files from Tools> Rename and set preferred naming options.
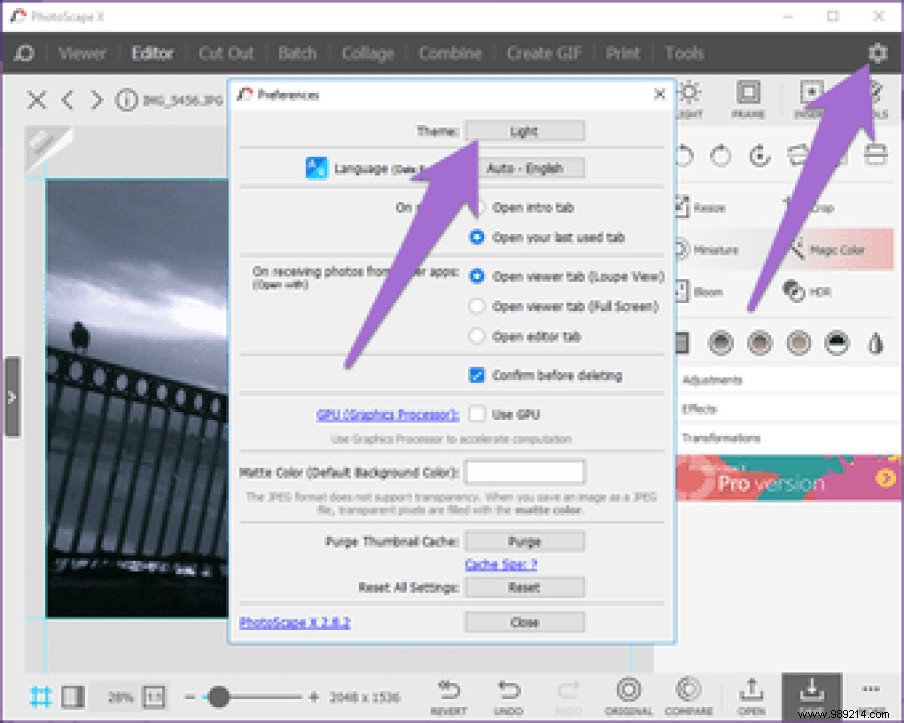
Not everyone is a fan of the dark theme. Readability often goes for a toss, and my eyes are sore. Luckily, PhotoScape X offers the ability to switch between light and dark theme.
To do this, click the Settings icon in the upper right corner. Then in the dialog box, select Light or Dark under Theme.
On Windows 10 and Mac PCs with macOS, you can also use this photo editor as a photo viewer. I don't like the Windows 10 Photos app. Sometimes I use PhotoScape as a photo viewer among other Windows 10 Photos alternatives.

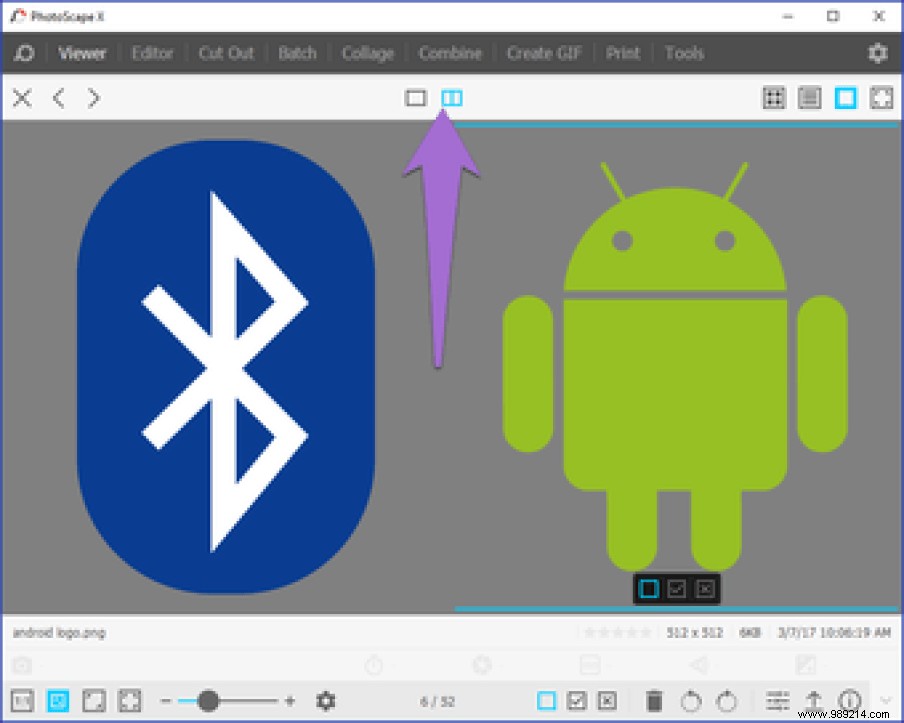
PhotoScape X reminds you of Google's Picasa. Although Picasa was shut down in 2016, you can still download its desktop app. As a photo viewer, PhotoScape X offers features like various view modes, ability to add to favorites, easy scrolling, etc. When viewing photos, tap the dual mode icon to view two images together.
What I love about PhotoScape X is that it's easy to use. You get awesome features that you can apply with just one click. And it offers much, much more than you would expect.
We hope these tips will make your editing process on PhotoScape X even easier.