There are currently two supported methods for running the initial Flow image:USB or Virtual Machine. You can download the USB and VMware images here. Either will take a while to download, as the image is a few hundred MB.
In my experience, recent versions of Chrome OS for some reason seem to have trouble booting into Virtualbox on my system. So I recommend the free VMware Player to start Chrome/Flow. After a quick and free registration on the VMware website, you can download the free player for multiple platforms.

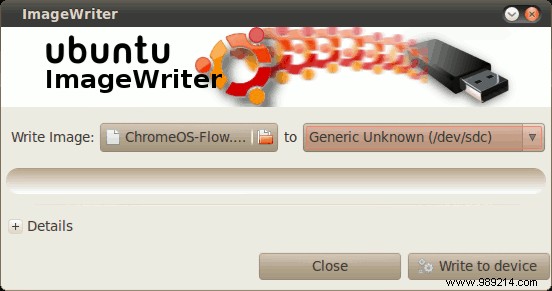
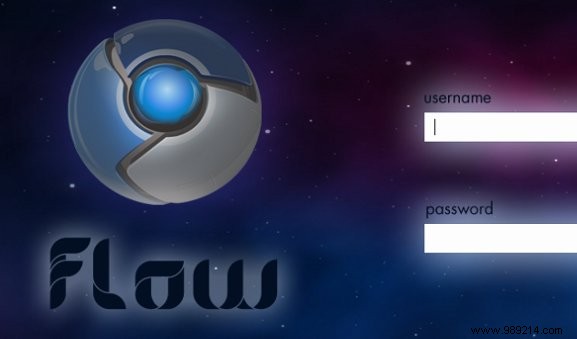
Choose the image file extracted in the previous step, and of course the target USB drive, and click on Write to device . When you are done, cleanly remove the device and load it into your netbook or other target device. Start this device and you should be taken to the Flow login screen.

There is still one major component to activate before we have a fully usable system. Before you can log in using your normal Gmail/Google account, you must first load a custom built-in user account to enable wireless support.
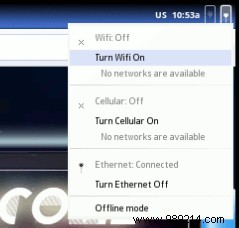
From the login screen, enter the user and pass the combo facepunch / facepunch . Yes, it really is. All we need to do here is go to the networking icon in the upper right corner, and select Enable Wi-Fi .

There doesn't seem to be a graphical way to log out/restart, so you can do it manually by pressing Ctrl+Alt+T to open a terminal, then
sudo reboot#Password still "facepunch"
You can now sign in using your normal Google account to enjoy Flow.
Flow includes a hard disk installer accessible from the terminal. Once you have completed the post-installation steps and enabled wifi, sign in using your Google account and open a terminal with Ctrl+Alt+T . With the terminal open, the installer can be launched with the command
/usr/sbin/chromeos-install
The system will ask you for all the information it needs to proceed with the installation.
If you have any Chrome OS or Flow stories to share, let us know in the comments!