If you're using a password manager like Dashlane or even another manager like LastPass or 1Password, chances are you're using a different password for virtually every website or service you sign up for. First of all, good for you because you are taking the necessary steps to be super secure on the web. However, there may be times when you want to share a password with someone without revealing all of your credentials.
Depending on how much time you spend on the computer, all of these passwords will add up quickly. You might have hundreds of different passwords to store. If you're working on a project with someone or you're on vacation for a few weeks and want someone to verify your services, it's unrealistic to have to fully expose yourself.
Dashlane has a built-in feature to share passwords with friends and family in an extremely secure way and puts you in full control. You can also set up a contact to automatically get access in case of an emergency. Here's how to do both.
In the Dashlane app for Mac or PC, you'll head to Sharing Center accessible from the sidebar on the left. Then at the top, click on Add new .
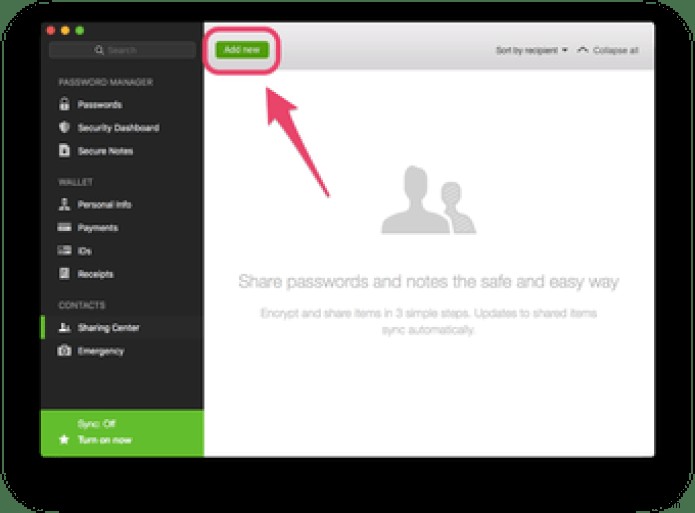
In the window that appears, you can manually select the passwords you want to share. Just start typing the name of an account you store in Dashlane and it will pop up to choose from.
Note: If you want to share them all, you'd better use the Emergency Contact feature. See below for details on how to enable this.
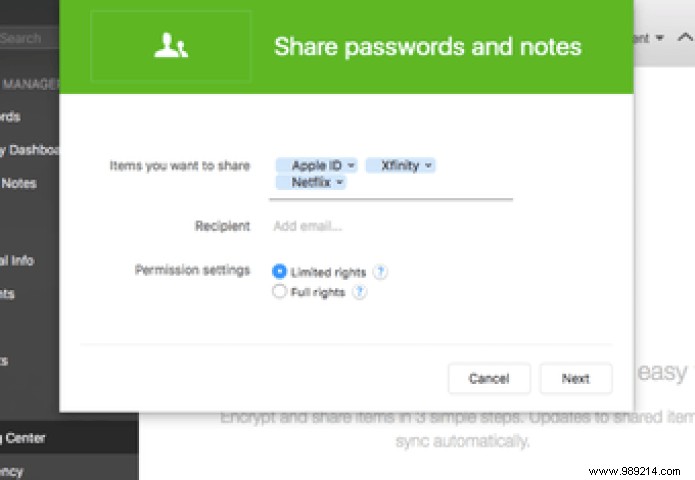
Below, enter the email address of the person you want to give access to your passwords.
Note: The person you want to share passwords with must have a Dashlane account. It's free, so creating one shouldn't be too much of a hassle for them.

The next part is important:select limited rights or full rights. If you give the person (or people) limited rights to the passwords you choose, all they can really do with them is just use those passwords. If you grant them full rights, they can change passwords in Dashlane, share them with other people, grant other people access to passwords, and even revoke your own access. In most cases, limited rights should suffice here. Only grant full rights to someone you really trust.

On the next page, you can enter your own name and a personal message, then send the email. The email will ask the user on the other end to confirm that they want to access the password and Dashlane will launch with the credentials ready.
This feature will allow someone after a certain period of time to automatically access your Dashlane account. If something serious happens – maybe even you are planning your death and want someone to have access to your information – Emergency is very useful.
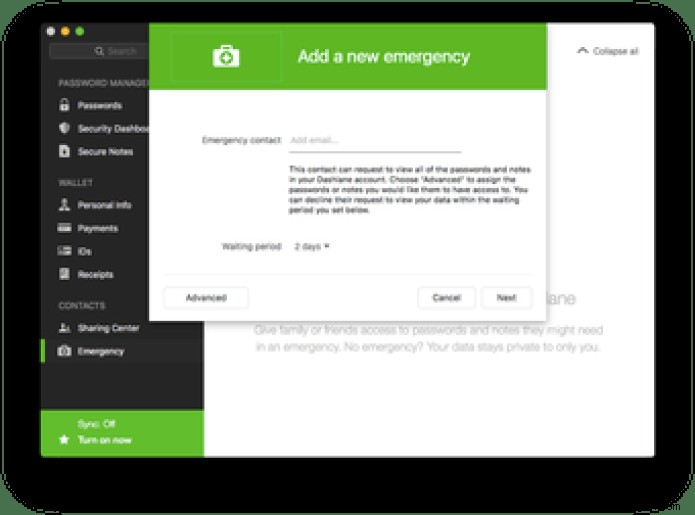
Just below Share Center in Dashlane, select Emergency . Enter your unique emergency contact. Then select a duration between 24 hours and 60 days. This means that if you don't respond to the person's request to access your information, they automatically get access after the specified amount of time. You can also select request access to your information, it automatically gets access after the specified amount of time. You can also select No wait time or Require response of yourself.
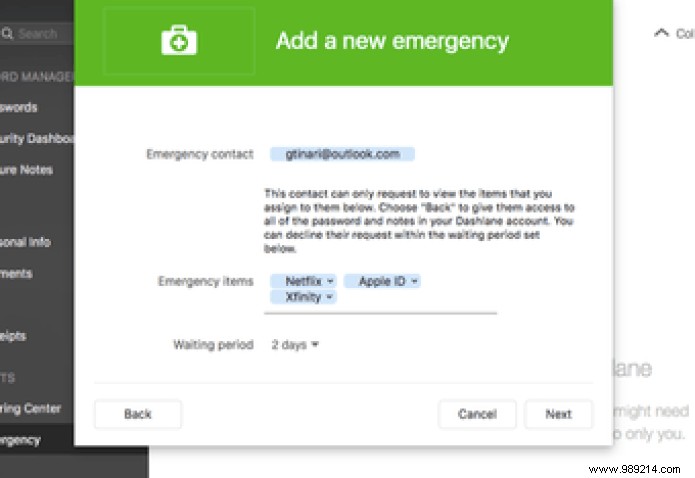
If you click Forward d you can choose which passwords your emergency contact has access to. Otherwise, the default setting reveals everything.
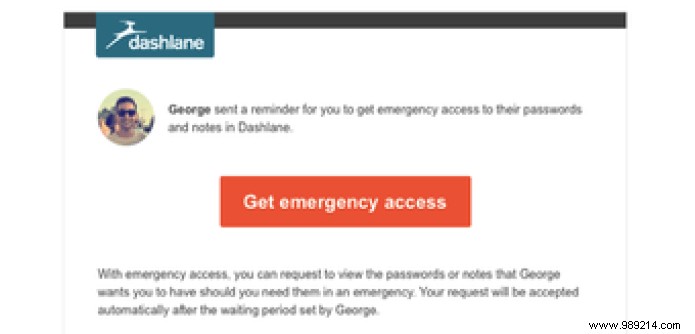
Send the email on the following page to grant emergency access. This won't give the passwords to the person right away, they can just ask for them in the future in case of an emergency.
Note: Again, the person with emergency access must have a Dashlane account.