One seemingly obvious use for the new $29 AirTag Tracker is for pets. As a new dog owner, I wanted to add an AirTag to my dog's existing leather collar, but the options currently available are lousy.
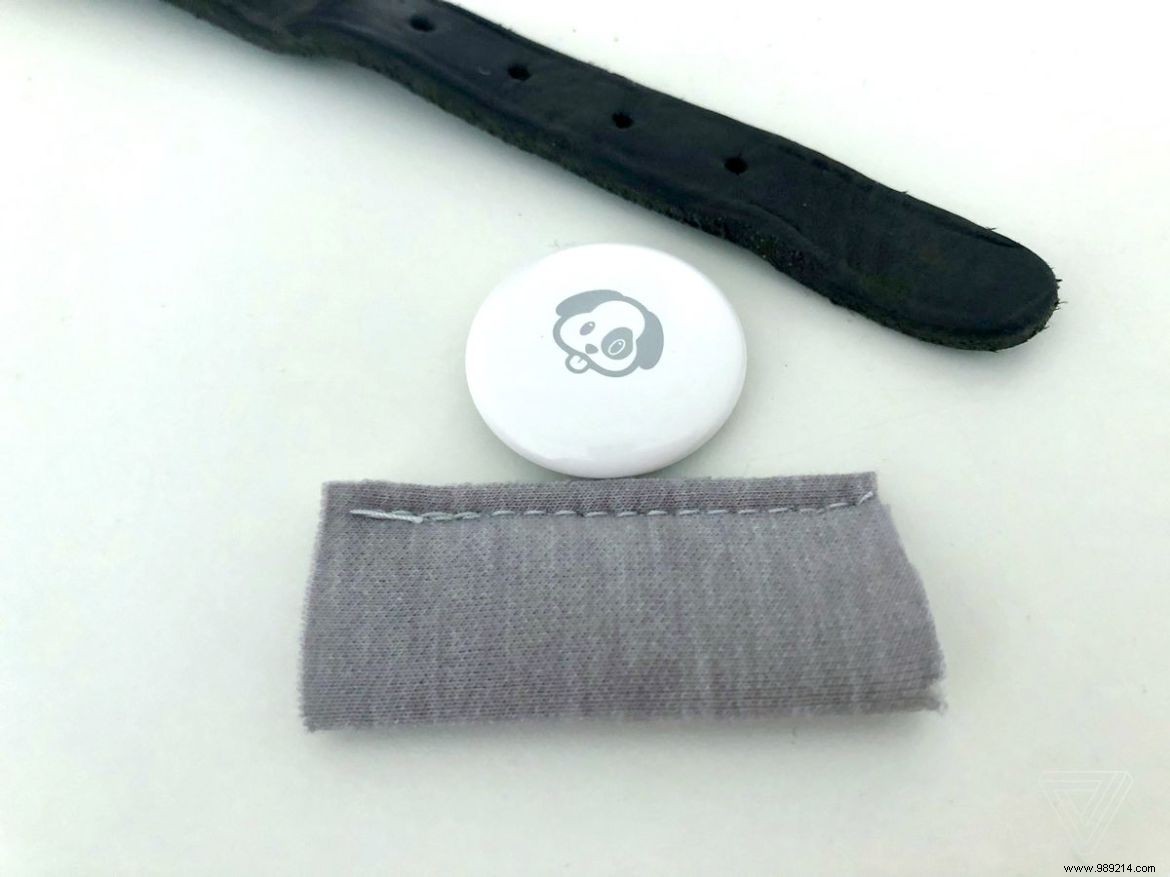
AirTags are small, but they aren't this small. Most AirTag holders currently available from Apple and its partners assume that I'm okay with hanging a 0.39 ounce (11 gram) pendant around the neck of my medium-sized beagle. I'm not, so that's how I got the idea for a DIY neoprene sleeve that keeps the IP67 water and dust resistant AirTag firmly attached to Hank's existing collar. /P>
I'm not going to suggest that AirTags are the best way to track your pets – they aren't. But they're relatively cheap, unlike dedicated GPS/GSM pet trackers that require monthly subscriptions. Coverage of Apple's Find My network is also more limited. Still, an AirTag is better than nothing, especially in populated areas where any nearby iPhone can alert you to your missing pet's location.

A few companies have already announced AirTag accessories designed specifically for pets. The problem is that none of these currently ship and most are downright expensive.
There's the $29.95 Nomad Rugged Pet Tag Case, which can be engraved with your phone number for an additional $19.95. But it's still just a pendant and won't ship until August. There's the $19.95 Studio Proper DogTag which fits perfectly with existing collars but doesn't ship until the end of July. And finally, there's the pricey $47.95 FollowPaw collar with built-in AirTag pocket, which won't ship until June.
One day I'll probably buy a dedicated AirTag holder for my dog – one that fits perfectly on his existing collar and is engraved with his name and phone number so I can remove his redundant identity plate. Until then, DIY seems to be the best solution.

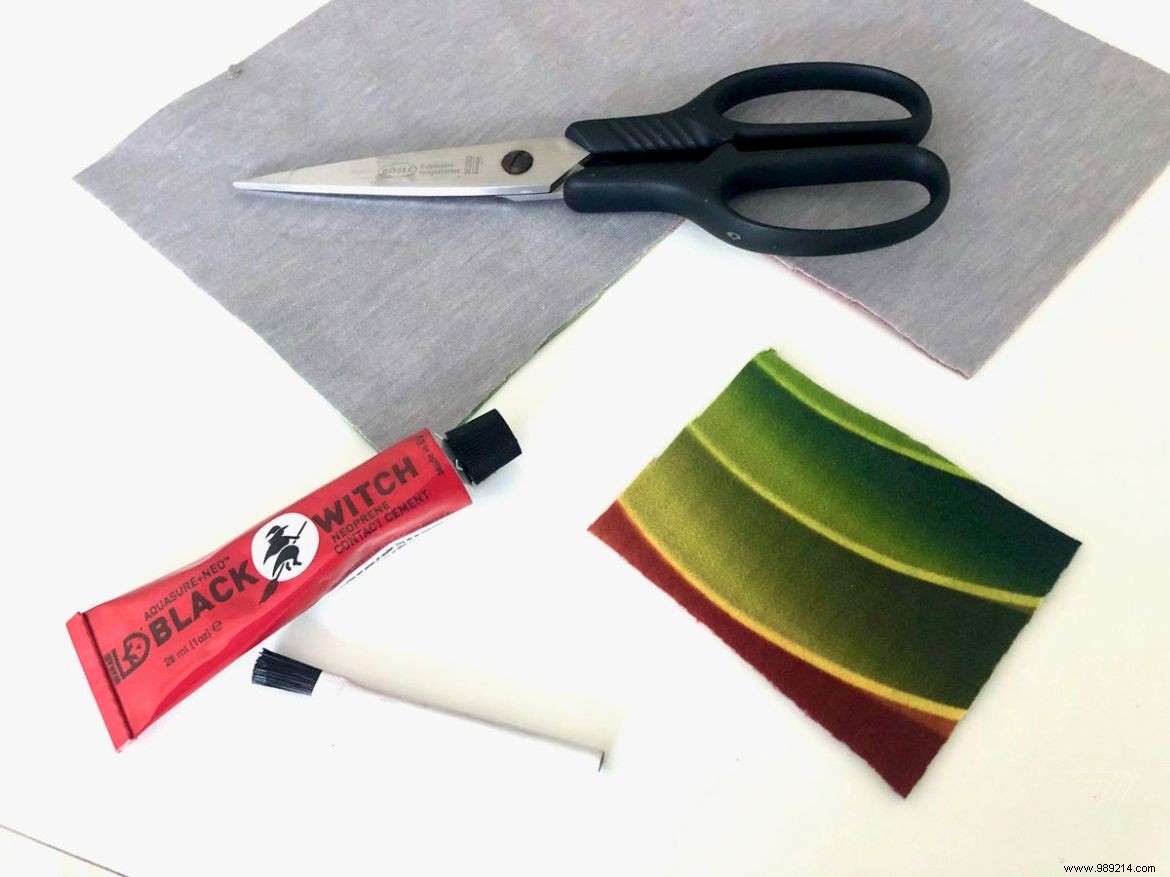
My AirTag sleeve is made of neoprene, a durable and stretchy material that is easy to find. I would suggest buying it from a local craft or fabric store so you can check the colors, thicknesses and stretch in person. You might even be able to haggle a few free leftovers instead of buying in bulk like most Amazon sellers require. The neoprene I used is 2mm thick and has no additional waterproofing, allowing it to be soft and stretchy.
If sewing is not an option, you will need neoprene glue. As an avid surfer, I had easy access to neoprene scraps, which I could put together in a tube with the neoprene glue in my wetsuit repair kit. For everyone else, you can expect glue and neoprene to cost no more than $10 in total.
Photograph by Thomas Ricker / Means I/O
Related: